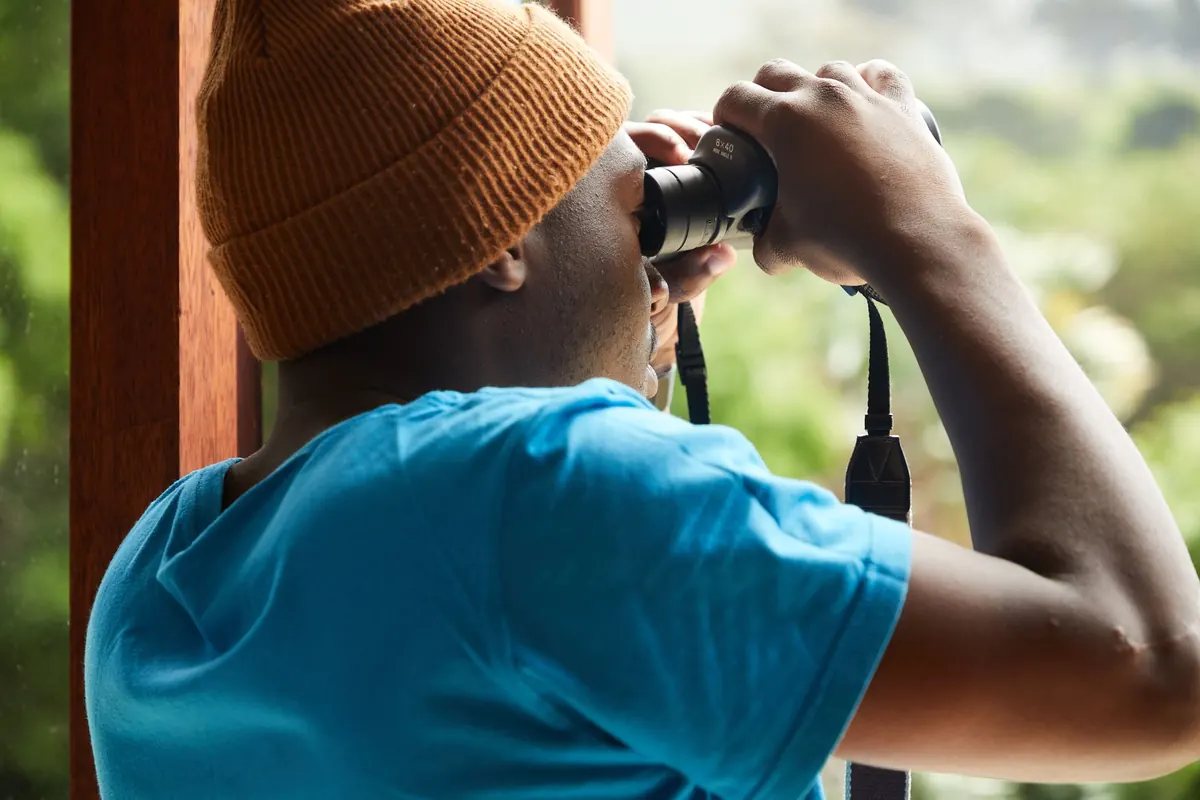
A house wren lands on the fence post, cocks its tail, and is gone before you have decided whether it was a wren or a sparrow. That almost-sighting is exactly where binoculars earn their place by the back door. They turn a blur at the feeder into feather patterns, foraging habits, and small dramas you would otherwise miss. You do not need expensive glass to start. You need a pair that fits your face, a focusing routine you can repeat without thinking, and a few habits that keep the birds coming back.
What the Numbers Mean
Every pair is stamped with two numbers: 8x42, 10x50, 7x35. The first is magnification. The second is the diameter of the front lens in millimetres, and it matters more than most beginners expect, because it governs brightness and how wide a view you get. Divide the second number by the first and you get the exit pupil — the width of the light beam reaching your eye. An 8x42 gives you 5.25mm, which is generous in shade and at dawn.
Match the Glass to the Job
For a garden, 8x is usually the better choice. It is steadier in the hand, easier to aim at something eight metres away, and bright enough under a hedge. A 10x pair pulls in more detail on a bird at the far end of a field, but the view narrows and every tremor in your hands gets magnified along with the bird.
Choosing a First Pair Without Overspending
Ignore the novelty binoculars sold in gift shops. Look for a few specific things instead:
- 8x magnification with a 32mm to 42mm front lens — the sensible all-round range.
- Close focus of two to three metres or less, so a bird on a nearby branch actually comes into focus.
- Twist-up eyecups, which let glasses wearers keep their spectacles on.
- Waterproof and fogproof sealing, worth having if they will live near a window or a damp shed.
- A weight you can hold steady for a full minute without your arms drifting.
Skip zoom models and anything advertised as never needing focus. A modest pair of roof-prism binoculars from a known optics brand will serve you better than a bargain with impressive-sounding numbers on the box. If you can, hold a pair before buying and check that both barrels show one clean circle, not two overlapping ones.
Fitting Them to Your Face
Most disappointing binoculars are simply badly adjusted. Start with the eyecups: if you wear glasses, twist them down so your eye reaches the full field of view; if you do not, twist them up to block stray light. Then open or close the hinge until the two circles merge into one. This interpupillary distance is different for everyone, and getting it wrong is what causes the black crescent across the view.
Next comes the diopter ring, usually on the right barrel, marked with plus and minus signs. Close your right eye and focus on something distant with the central wheel. Then close your left eye and turn the diopter until that same object is sharp. From now on, the centre wheel does all the work. If someone else uses your binoculars, check the diopter again afterwards — it is the first thing to drift.
A Focusing Routine That Works
Aim, focus, find the bird. In practice that order is backwards for anything that moves. Try this instead:
- Find the bird with your bare eyes and keep looking at it.
- Lift the binoculars to your face without moving your head, as though you were putting on glasses.
- If the view is a blur, turn the focus wheel past the sharp point and come back to it. Your eye locks onto focus faster when you approach from beyond.
- Tuck your elbows against your ribs, or rest the binoculars on a windowsill, doorframe, or fence rail.
- Breathe out slowly and hold. The image steadies immediately.
For restless birds, focus on a perch or a feeder port and wait, rather than chasing the bird around the garden. A robin that keeps hopping will eventually land somewhere in your field of view.
Watching Without Disturbing
Good watching is quiet watching. Learn the signals that you are too close: alarm calls, a bird freezing mid-mouthful, tail flicking, or a sudden retreat from the feeder. When you see them, lower the binoculars and step back or move inside. Watching through a window from a few metres away disturbs almost nothing, and a sheer curtain or a partly closed blind hides your outline effectively.
Leave nests and nest boxes alone. View them from a distance, and never open a box during the breeding season to see what is inside. Keep cats indoors, particularly in spring. Skip recorded bird calls — they can pull birds away from feeding and nesting duties. If you find a stunned bird after a window strike, place it in a dark, ventilated box and leave it undisturbed, then contact a licensed wildlife rehabilitator for advice rather than handling it yourself.
Setting Up a Garden Worth Watching
Water attracts more species than food. A shallow dish two to five centimetres deep, with a rough surface so birds can grip, will draw in birds that never touch a seed feeder. Add layered cover — a shrub, a small tree, a loose pile of prunings in a corner — so birds have somewhere to retreat between visits.
Place feeders where you can see them from a comfortable chair, ideally with a hedge or fence behind them rather than open sky, and with the light falling from behind you. Morning is the busiest hour. A feeder hung a metre from the glass, or more than three metres away, reduces collision risk; window decals help too.
Practice in Small Doses
Ten minutes a day teaches you more than one long session a month. Sit in the same spot, note the date and weather, and write down what you saw and what it was doing. Learn the common birds first — the shape of a sparrow, the bounce of a blackbird, the way a goldfinch hangs upside down. Once those are familiar, the unusual visitor stands out immediately.
Keep the binoculars by the window, not in a cupboard. The wren will come back.
Photo: Laker / Pexels